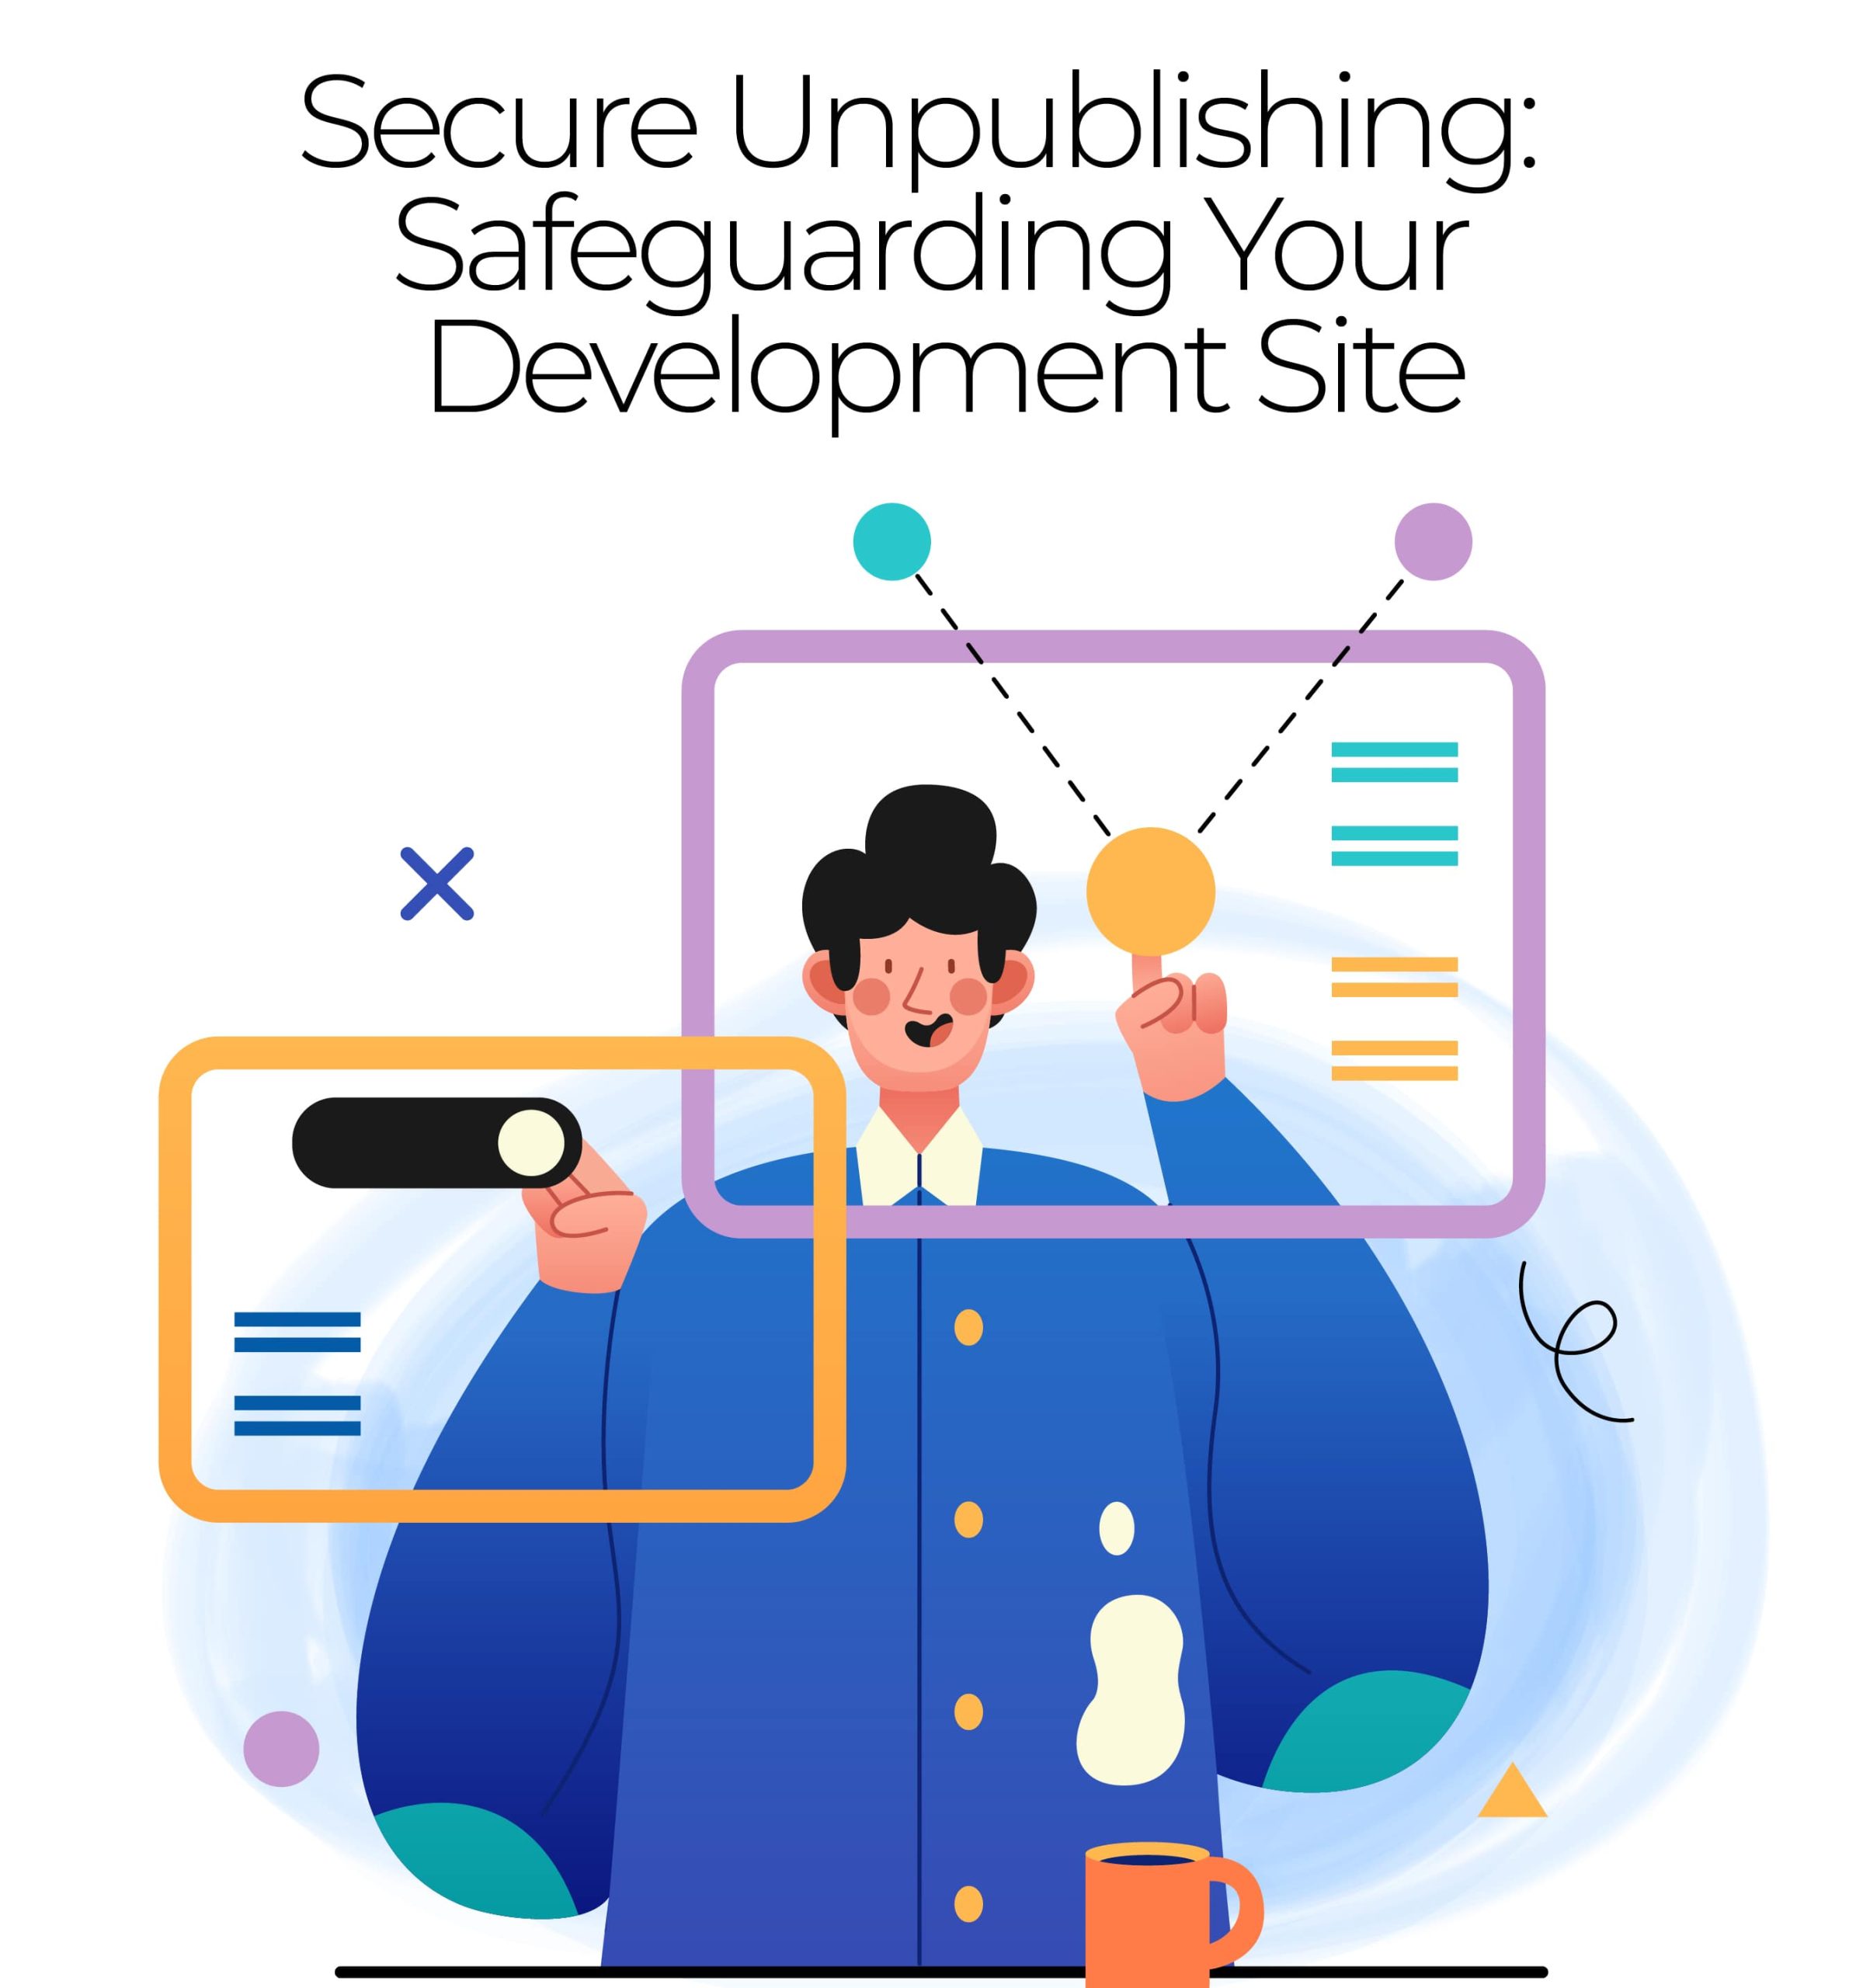
Protecting Privacy: How To Unpublish WordPress Site
In an era of increasing digital transparency, safeguarding your online privacy is paramount. This is especially true for website owners, who may need to take down their WordPress sites for various reasons temporarily.
In this guide, we’ll walk you through the steps on how to unpublish a WordPress site while maintaining the utmost privacy. Whether for maintenance, rebranding, or any other reason, this process ensures that your site remains hidden from public view. Let’s dive in.
The Vital Role of Unpublishing
In a world where digital footprints constantly expand, safeguarding one’s online privacy has become a fundamental concern. This is especially true for WordPress site owners with sensitive information that must remain secure. This is where WordPress development service comes into play. Temporarily removing a site from public access ensures the content remains shielded from prying eyes, mitigating potential risks associated with leaving it public during maintenance or updates.

Understanding the Importance of Privacy:
The concept of privacy in the digital realm has evolved into a fundamental right for individuals and businesses alike. With the rising frequency of cyberattacks and data breaches, protecting sensitive information has become a critical concern.
This extends to WordPress site owners, who may house confidential content, from personal blogs to proprietary business information. A well-executed WordPress development website should inherently account for these privacy considerations.
Steps to Unpublishing a WordPress Site
In the ever-evolving landscape of the internet, safeguarding privacy and sensitive information has become paramount. Unpublishing a WordPress site is critical to ensuring that your online presence remains secure. Whether you’re wrapping up a project, revamping your content, or simply need a site to hide your site temporarily, understanding the steps to unpublishing is essential.
Unpublishing a WordPress site involves several crucial steps to guarantee a seamless transition from a public to a private or temporary state. Here are the key steps you need to follow.
Backing Up Website Data:
- Use a reputable backup plugin or utilize cPanel (if provided by your hosting provider) to create a full backup of your WordPress site. This includes the database, files, and any additional content.
- Store the backup files securely in an external location, such as cloud storage or a local drive, to ensure they are easily accessible if needed.
Setting Up a Maintenance Page:
- Select a maintenance mode plugin from the WordPress repository or opt for a premium solution that aligns with your brand’s aesthetics.
- Customize the maintenance page with a clear message explaining why the site is temporarily unavailable. Consider including an estimated time for when the site will be back online.
Disabling Search Engine Indexing:
- Access the WordPress dashboard and navigate to the ‘Settings’ > ‘Reading’ section. Check the box that says ‘Discourage search engines from indexing this site’.
- Alternatively, you can edit the robots.txt file to include directives instructing search engine bots not to crawl your site. This file is typically located in the root directory of your WordPress installation.
Removing Personal Information:
- Scrutinize every page, post, and user profile for any personal information. This includes author names, email addresses, phone numbers, and physical addresses.
- Either delete or replace this information with generic placeholders to maintain privacy.
Reviewing Plugins and Themes:
- Access the WordPress dashboard’s ‘Plugins’ and ‘Themes’ sections. Evaluate each plugin for its necessity and relevance to the site’s current state.
- Remove any plugins or themes that are outdated, unused, or pose a potential security risk. Ensure that the remaining ones are updated to their latest version
Disabling User Registration:
- Go to ‘Settings’ > ‘General’ in the WordPress dashboard. Uncheck the box that says ‘Anyone can register’ to prevent new users from registering during the unpublished period.
- You can also use a plugin to temporarily disable user registration and memberships if necessary.
Managing Comments and User-generated Content:
- Go Review all comments, forum posts, or other user-generated content. Remove any comments containing sensitive information or personal details.
- Temporarily disable the commenting system or set comments to require manual approval to prevent further interactions during the unpublished period
Handling Media Files:
- Access the media library and review each file for privacy concerns. Set appropriate permissions to ensure that only authorized users can access certain files.
- Consider utilizing plugins or access controls to restrict media access if necessary.
Checking for Broken Links:
- Utilize a link checking tool or plugin to scan your site for broken links. Replace or remove any links that lead to non-existent pages or resources.
- Ensure that all internal and external links are functional for a seamless user experience.
Implementing Password Protection (Optional):
- In the WordPress dashboard, you can set a password for the entire site under ‘Settings’ > ‘Reading’. This adds layer of security, ensuring only individuals with the password can access the content.
Testing Site Functionality:
- Thoroughly test the site’s functionality by navigating through all pages, clicking links, submitting forms, and interacting with dynamic elements.
- Address any issues that arise during testing to guarantee a smooth user experience when the site is live again.
Setting a Clear Timeline:
- Establish a specific date or milestone for when you plan to republish the site. This could be tied to the completion of updates, the end of a project, or any other relevant event.
Monitoring Site Security:
- Continuously monitor the security of your site during the unpublished period. Stay vigilant for suspicious activity, and promptly address potential vulnerabilities by keeping software, plugins, and themes up-to-date.
By following these detailed steps, you’re not only ensuring a seamless transition from a public to an unpublished state but also prioritizing the security and privacy of your WordPress site. Remember to document each step for future reference and to have a clear plan for republishing when the time comes.
Risks of Keeping a Website Public During Maintenance or Updates
Leaving a website public, especially when undergoing maintenance or updates, can expose it to various vulnerabilities. Malicious actors often target websites in transition to exploit weaknesses or collect sensitive information. These risks can take various forms, including:
Security Vulnerabilities: Outdated plugins, themes, or WordPress versions can create security loopholes that cybercriminals may exploit. Keeping a website public during updates exposes it to potential breaches.
Data Exposure: Sensitive information, such as user data or proprietary content, may become accessible to unauthorized parties if a website is left public during maintenance. This can have severe implications for privacy and compliance with data protection regulations. By unpublishing the site, you reduce the risk of this sensitive information falling into the wrong hands.
SEO Implications: Publishing incomplete or error-ridden content during updates can negatively affect a website’s search engine ranking, potentially leading to a loss of visibility and traffic. Search engines value quality and relevance.
Reputation Damage: If a website is compromised while public, it can result in reputational harm. Visitors may lose trust in the site’s security measures, potentially deterring future engagement. Trust is paramount on the internet.
Content Integrity: Unpublished content can be vulnerable to unauthorized alterations or deletions if a website is left public. This risk is particularly relevant if multiple users have access to the website’s backend. It’s not uncommon for accidental or intentional alterations to occur.
Who Are We?
We cater to all your business needs from digital
marketing to website development!

Best Practices for Unpublishing a WordPress Development Website
Unpublishing a WordPress development website is a crucial step in the website lifecycle. Whether you’re making updates, rebranding, or preparing for a relaunch, it’s essential to follow a structured process to avoid disruptions and maintain professionalism.
Grow Human-Centered
Businesses
Online
Web App Vault is a custom web design and business
website development company that enhances the visibility
and credibility of businesses. We are an approachable
eCommerce service provider that fuels digital marketing.
We Are Here To Help
Web App Vault – Your
Industry-Specific
Data Guardian
Our industry-specific web application solution
provides robust data security and a seamless user
experience tailored to your industry’s requirements.
Safeguard your sensitive data with assurance.
Providing Animation Services To
Clients In Multiple Cities Across USA & Canada
- Arlington
- Cleveland
- Jacksonville
- Miami
- Orlando
- Atlanta
- Dallas
- Louisville
- Minneapolis
- Philadelphia
- Austin
- Denver
- Kansas City
- New York
- Portland
- Chicago
- Houston
- Los Angeles
- New Orleans
- San Diego
Backing Up Your Website
Before making any changes, creating a comprehensive backup of your WordPress development website is imperative. This is a safety net in case of unforeseen issues during the unpublishing process. Follow these steps to ensure a thorough backup:
- Access Your Hosting Panel: Log in to your hosting provider’s control panel.
- Backup Options: Most hosting panels provide various backup options, including full backups, partial backups, and database backups. Select the appropriate option based on your needs.
- Schedule Regular Backups: Consider setting up an automated backup schedule to ensure you always have the latest version of your website stored securely.
- Download the Backup: Once the backup is complete, download it to your local device and store it in a safe location.
Notifying Stakeholders
Transparent communication is key when unpublishing a website, especially in a professional setting. Notify all relevant stakeholders, which may include team members, clients, or partners. Provide them with the following information:
- Reason for Unpublishing: Explain why the website is being temporarily down. Whether for updates, maintenance, or rebranding, being open about the purpose builds trust.
- Expected Downtime: Provide an estimated timeline for the website’s return online. Ensure you factor in potential delays to manage expectations effectively.
- Alternative Communication Channels: If applicable, provide alternative ways for stakeholders to reach out or access essential information during the downtime.
Setting a Timeline
Establishing a clear timeline for the unpublished state of your WordPress development website is crucial for planning and ensuring a smooth transition. Follow these steps:
- Evaluate the Scope of Work: Determine the tasks that need to be completed during the unpublishing period, including updates, design changes, or content revisions.
- Allocate Time for Testing: Set aside time for thorough testing to ensure that all changes are functioning as intended before the website goes live again.
- Factor in Buffer Time: Account for potential delays or unexpected issues that may arise during the unpublishing process.
- Communicate the Timeline: Share the timeline with all stakeholders to manage their expectations and provide updates as necessary.
Announcing Unpublishing to Existing Users
When it comes to managing a WordPress site, transparency and effective communication are paramount. Occasionally, unpublishing a WordPress site becomes necessary, whether for security reasons, maintenance, or strategic rebranding.
In such instances, it’s crucial to convey this information to your existing user base in a clear and reassuring manner.
Creating the Announcement Message
- Clear and Concise Language: Ensure your message is clear and easy to understand. Avoid technical jargon and briefly explain why the site is being unpublished.
- Provide Context and Reasoning: Transparency builds trust. Clearly communicate the reasons behind the unpublishing, whether it’s for security upgrades, maintenance, or a strategic shift in content.
Open Lines of Communication
- Provide Contact Information: Offer a point of contact for users who may have questions or concerns. This could be an email address, a contact form, or a dedicated support channel.
- Monitor Social Media Channels: Keep an eye on social media platforms where your audience may seek updates. Respond promptly to any inquiries or comments.
Wrapping Up
In the fast-paced digital landscape, safeguarding your online presence is non-negotiable. Unpublishing your WordPress site during updates or maintenance is pivotal in ensuring privacy and security.
By meticulously following these steps and considering the support of WordPress development services, you’re taking proactive measures to protect your valuable content. Remember, prioritizing privacy fortifies sensitive information and maintains trust and transparency with your audience.
For comprehensive solutions in website development, corporate branding, digital marketing, mobile applications, and video animation, trust the experts at Web App Vault. We’re not just service providers but your partners committed to your digital success. Upgrade your online presence today with Web App Vault.