
A Comprehensive Guide How to Delete A WordPress Site
WordPress is undoubtedly one of the most popular content management systems, empowering 810 million websites across the globe. However, there may come a time when you need to bid farewell to your WordPress site and start a new one. Deleting a WordPress site can be liberating and nerve-wracking, whether due to rebranding, changing business direction, or simply wanting a fresh digital canvas. In this step-by-step guide on how to delete a WordPress site, we will walk you through the process easily and confidently.


Why Delete a WordPress Site?
When it comes to managing a WordPress website, various circumstances might prompt you to delete it. Understanding these motivations and scenarios is essential, as they will help determine whether erasing aligns with your objectives. Here are some common reasons why individuals or businesses decide to delete a WordPress site:
● Outdated Content
Over time, your WordPress development content may become outdated or irrelevant. This can happen for various reasons, such as changes in industry trends, updates to your product or services, or shifts in your target audience’s interests. Encountering outdated content can detrimentally affect visitors’ perceptions of your site’s credibility and authority. Deleting the site and starting fresh may be the best solution.
● Rebranding
The process of rebranding is a significant undertaking for any business or individual. It involves changing your visual identity and aligning your online presence with your new brand image and messaging. Deleting your existing WordPress development website can be a crucial step in this process, allowing you to build a website that accurately reflects your new brand and its values.
● Project Completion
Website development with WordPress is often used in creating specific projects or campaigns. Once these projects are completed, maintaining a dedicated site may no longer be necessary. Deleting the site can help streamline your online presence and reduce maintenance costs.
● Shift in Focus
As your business or personal goals evolve, you may find that your existing website no longer aligns with your current objectives. This could be due to a shift in your niche, services, or interests. Deleting your WordPress development site allows you to start fresh and create a website that suits your current needs better.
● Security Concerns
In some cases, a compromised website may pose a significant security risk. If your site has fallen victim to hacking attempts or has been infected with malware, it may be in your best interest to delete it and take steps to enhance security when starting anew.
● Legal or Compliance Requirements
Certain legal or compliance requirements may necessitate deleting a WordPress development site. For example, you may need to delete a site that contains sensitive or confidential information to ensure compliance with data protection regulations.
● Personal Choice
Ultimately, the decision to delete a WordPress site can also be a matter of personal choice. You might feel it’s time for a fresh start or to explore new design and functionality possibilities.
Regardless of your reasons for wanting to delete your WordPress site, it’s crucial to approach the process with caution and care. Before taking any steps towards deletion, backing up your site thoroughly is highly recommended. This precaution ensures that you can preserve valuable content and data if you ever wish to revisit or repurpose it.
Who Are We?
We cater to all your business needs from digital
marketing to website development!

Preparations Before Deleting
Before you start deleting your WordPress development site, there are crucial preparations you must make. These preparations are essential for preserving valuable content and data, maintaining your online presence, and avoiding any unexpected hiccups.
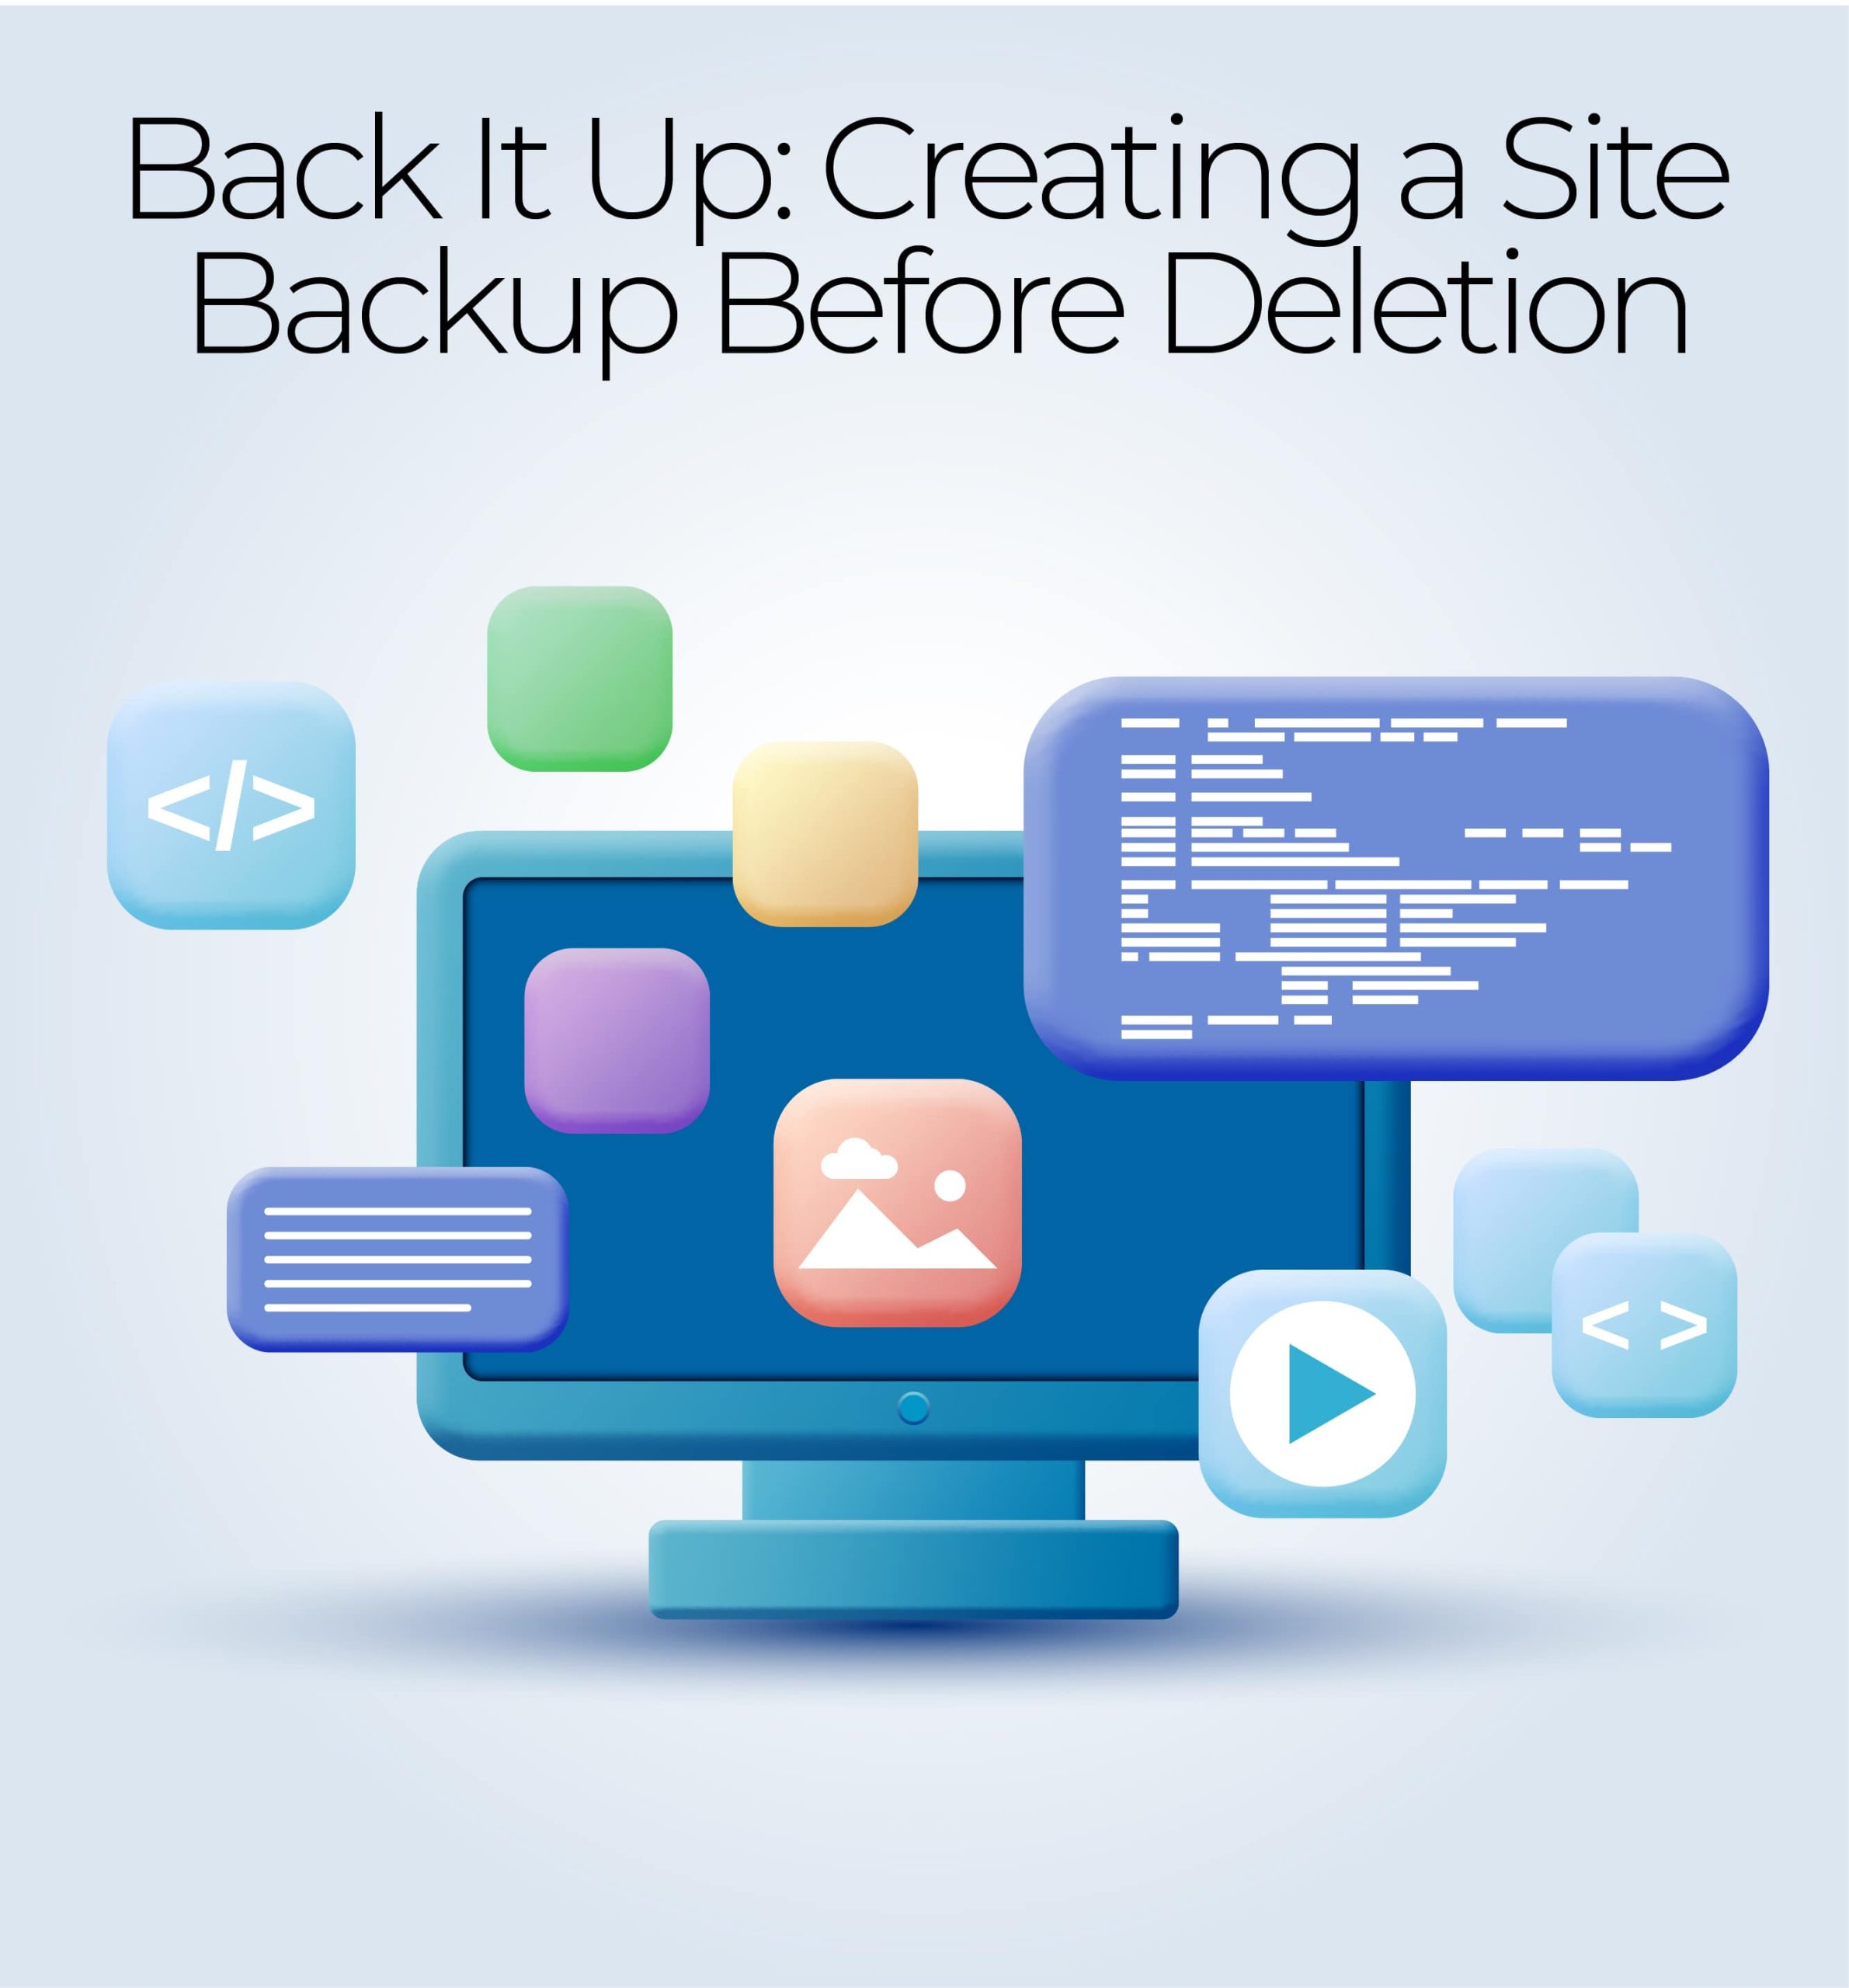
Creating Backups
One of the most critical aspects of preparation is creating backups of your WordPress development site. Backups serve as a safety net, allowing you to restore your site if something goes wrong during or after the deletion process. Here’s how to create backups:
Manual Backups
- Database Backup: Start by exporting your site’s database. You can do this through phpMyAdmin or a similar tool your hosting provider provides. Export the entire database and save it to your local computer.
- File Backup: Connect to your hosting server using FTP (File Transfer Protocol) or a file manager provided by your hosting control panel. Download all of your website files to your computer. This includes themes, plugins, and media files.
Using Backup Plugins
Alternatively, you can make use of WordPress backup plugins to simplify the backup process:
- Install a Backup Plugin: Go to your WordPress dashboard’s “Plugins” section and search for a reputable backup plugin. Popular options include UpdraftPlus, BackupBuddy, and All-in-One WP Migration.
- Configure Backup Settings: Activate the chosen plugin and configure its settings. You can usually schedule automated backups and choose where to store the backup files, such as on your server, cloud storage, or computer.
- Initiate a Backup: Run a manual backup using the plugin. Depending on the plugin you choose, this process may involve clicking a button or following specific instructions provided by the plugin.
- Download Backup: After the backup is complete, download the backup files to your local computer for safekeeping.
By creating backups manually and using plugins, you have multiple layers of protection for your site’s content and data.
Grow Human-Centered
Businesses
Online
Web App Vault is a custom web design and business
website development company that enhances the visibility
and credibility of businesses. We are an approachable
eCommerce service provider that fuels digital marketing.
We Are Here To Help
Exporting Content and Data
In addition to creating backups, it’s a good practice to export your WordPress development site’s content and data in a format that facilitates further usage. WordPress provides a built-in export tool for this purpose:
- Access the Export Tool: In your WordPress dashboard, navigate to “Tools” and select “Export.”
- Choose What to Export: You can select the specific content you want to export, such as posts, pages, media, and comments. Make your selections and click “Download Export File.”
- Save the Exported File: The tool will generate an XML file containing your selected content. Save this file to your computer.
These exported files can be helpful if you decide to recreate your site, migrate to a different platform, or keep a record of your content.
Web App Vault – Your
Industry-Specific
Data Guardian
Our industry-specific web application solution
provides robust data security and a seamless user
experience tailored to your industry’s requirements.
Safeguard your sensitive data with assurance.
Providing Animation Services To
Clients In Multiple Cities Across USA & Canada
- Arlington
- Cleveland
- Jacksonville
- Miami
- Orlando
- Atlanta
- Dallas
- Louisville
- Minneapolis
- Philadelphia
- Austin
- Denver
- Kansas City
- New York
- Portland
- Chicago
- Houston
- Los Angeles
- New Orleans
- San Diego
Deletion Process
Now that you’ve diligently prepared by creating backups and exporting your content and data, it’s time to delve into the actual deletion process. The steps may vary slightly depending on whether you have a self-hosted WordPress development site or use WordPress.com. This section will provide a step-by-step guide emphasizing the importance of confirming your decision before proceeding.
● Access Your WordPress Dashboard
The first step in deleting your WordPress site is to log in to your WordPress dashboard. You can do this by entering your website’s URL followed by “/wp-admin” in your web browser’s address bar (e.g., “www.yourwebsite.com/wp-admin”). This will take you to the login page of your WordPress admin area. Log in with your username and password.
● Navigate to the “Settings” Section
Once you’re logged in, locate the “Settings” tab on the left-hand menu of your WordPress dashboard. It’s usually near the bottom of the menu. Click on “Settings” to expand its submenu.
● Disable Search Engine Indexing
Before proceeding with the deletion, it’s crucial to ensure that search engines don’t index your site or its content. To do this, go to the “Reading” settings, which can be found under the “Settings” submenu. Here, you’ll see an option titled “Search Engine Visibility” or “Discourage search engines from indexing this site.” Check the box to discourage indexing. This will tell search engines not to crawl your site in the future.
● Understand the Difference Between Content and Site Deletion
Before you proceed, it’s essential to understand the distinction between deleting content and deleting the entire site. Deleting content involves removing individual posts, pages, or media files, while deleting the entire site means erasing all of your website’s data, including its theme, plugins, and settings. Please ensure you are clear on which option you want to proceed with, as they have different implications.
Walk Through the Deletion Process Step by Step:
Deleting Content (Posts, Pages, Media, etc.):
- To delete specific content, such as a post or page, navigate to your WordPress dashboard’s “Posts” or “Pages” section.
- Hover your mouse over the item you want to delete, and you will see options appear beneath it.
- Click the “Trash” option to move the item to the trash. You can later permanently delete it from the “Trash” section.
Deleting the Entire Site:
- To delete the entire site, use a plugin or consult your web hosting provider. Some web hosts offer a one-click option for site deletion in their control panels.
- If you prefer a plugin, search for “site deletion” plugins in the WordPress plugin repository, install one, and follow its instructions to delete your site.
The Importance of Confirming Your Decision:
WordPress typically prompts you to confirm your decision before you finalize any deletion. This is a crucial step to prevent accidental deletion of content or your entire site. Always double-check your selections and confirm the action only when you are certain that you want to proceed.
By following these steps, you can successfully navigate the deletion process for your WordPress site, whether removing specific content or opting for a complete WordPress development site deletion. Remember to exercise caution and confirm your decisions to ensure a smooth and secure deletion process.
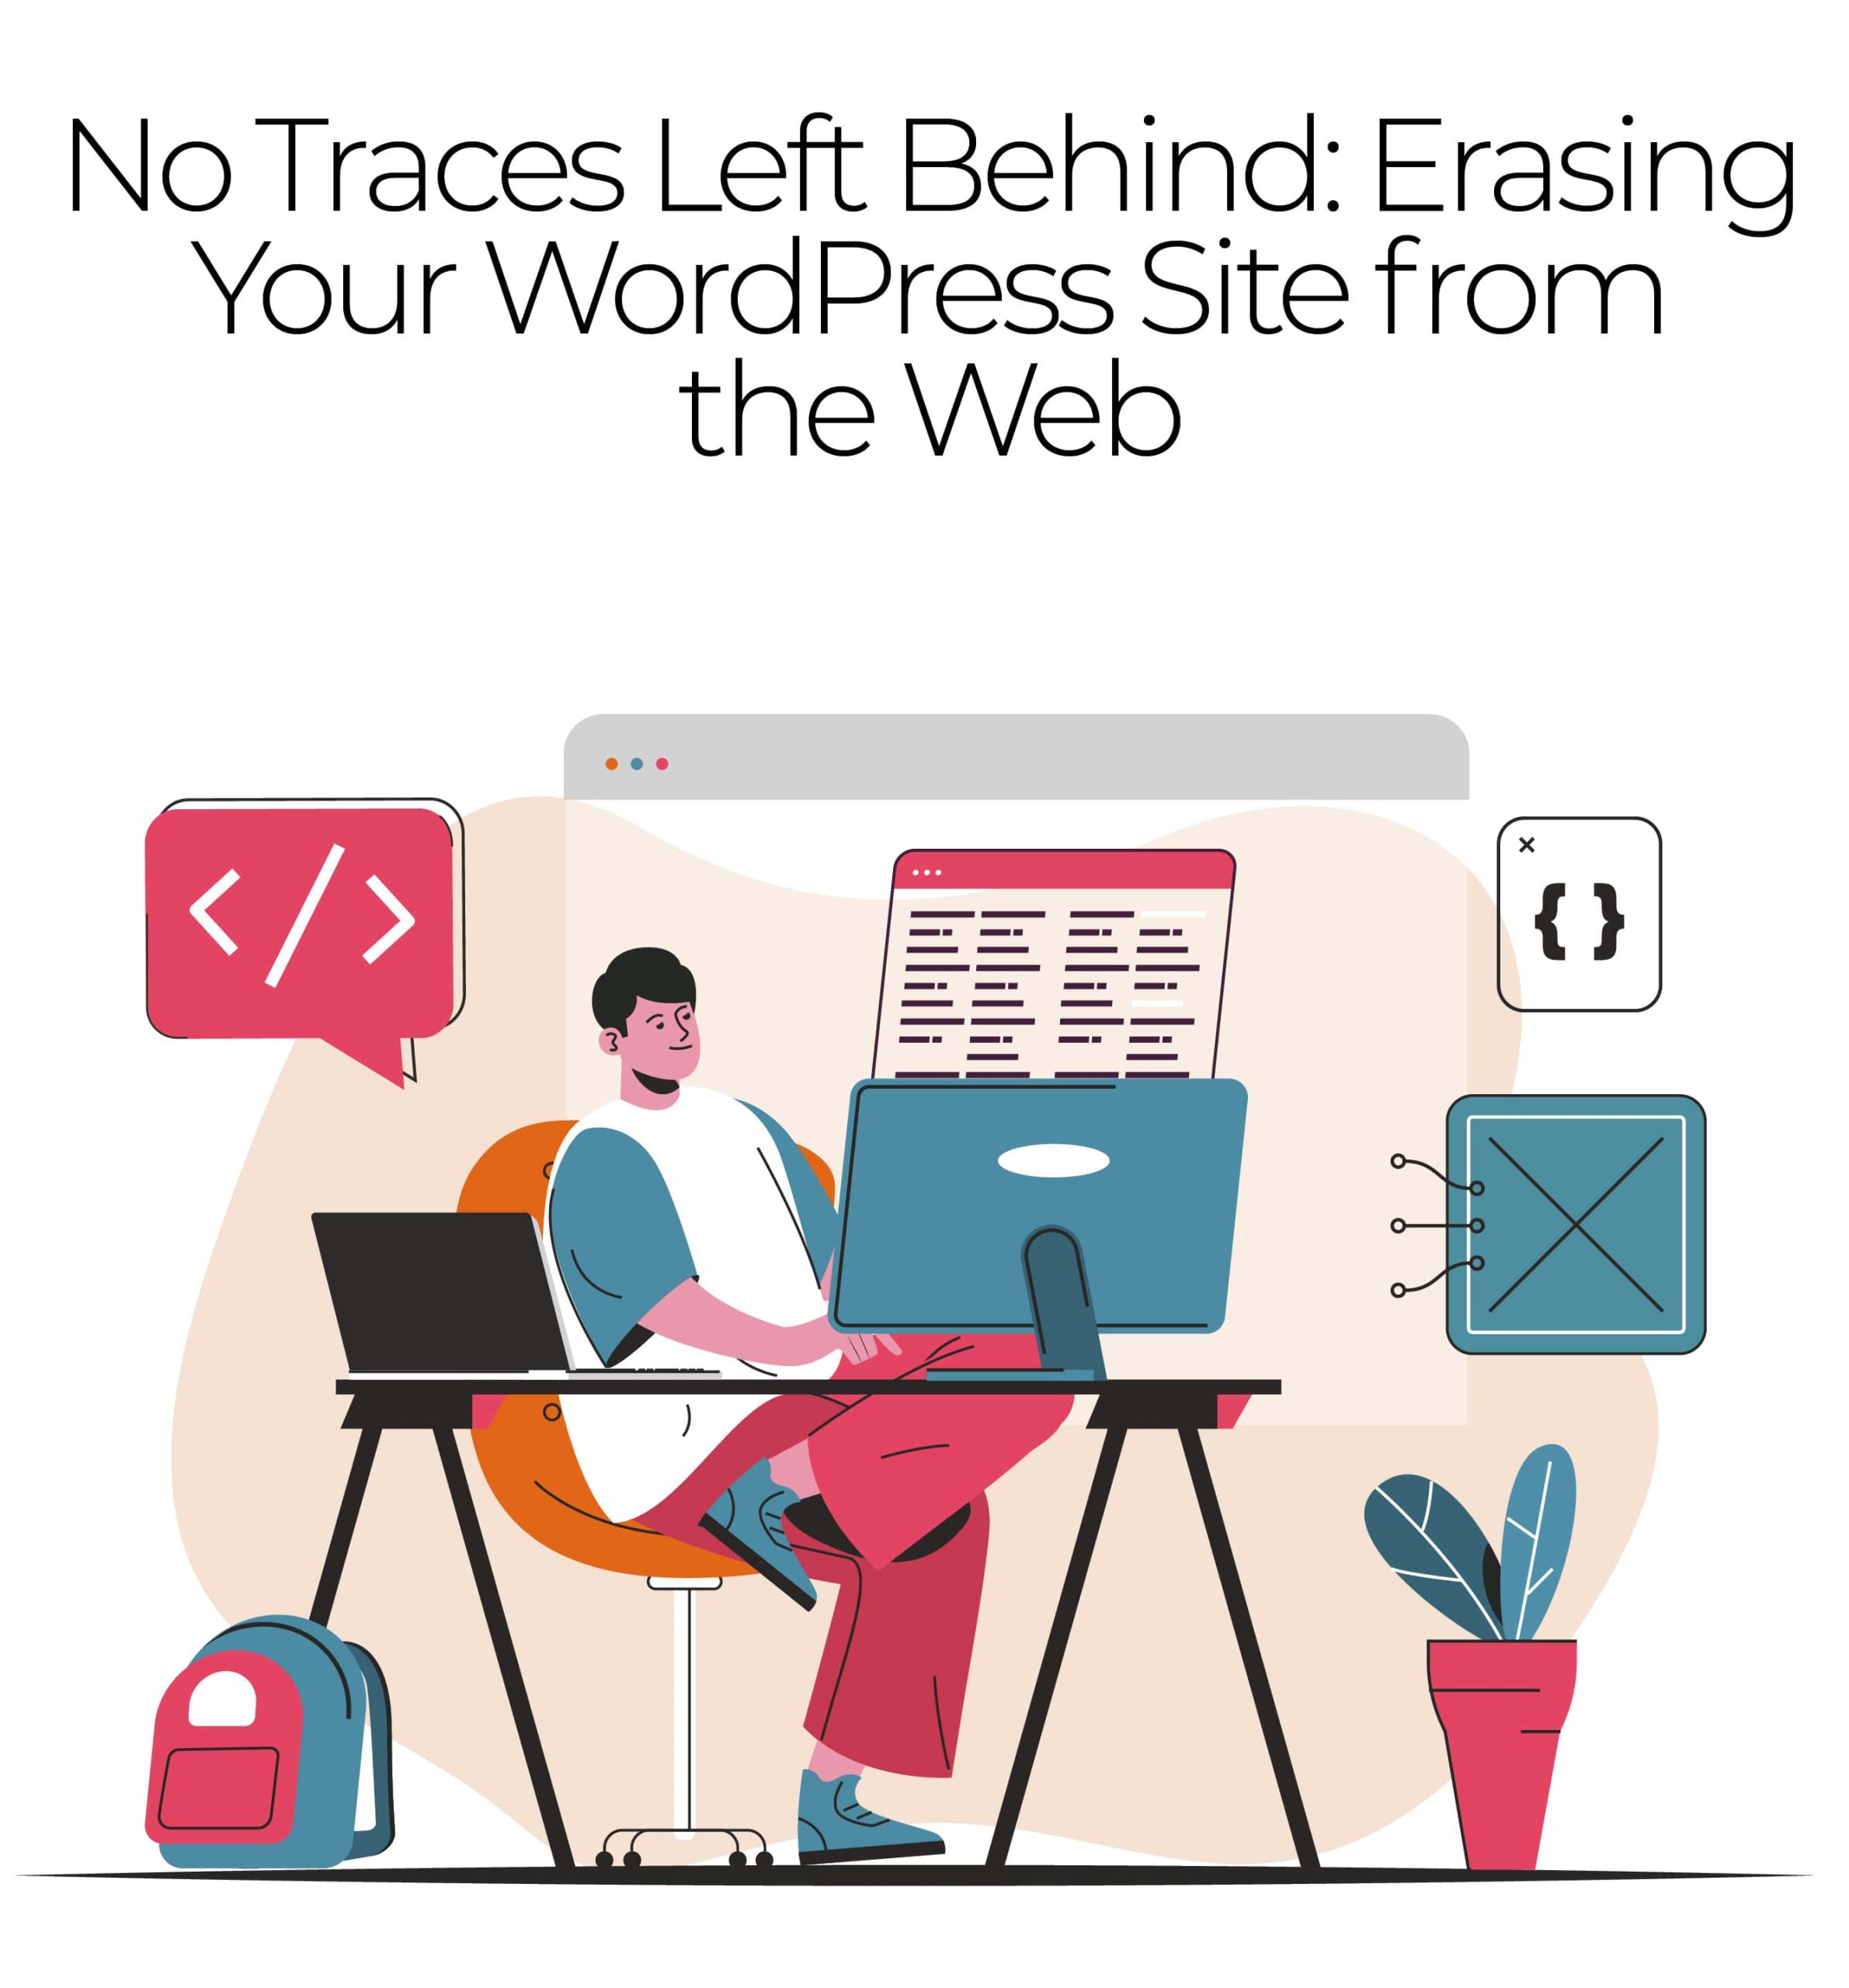
Cleaning Up After Deletion
Once you’ve gone through deleting your WordPress site, your work isn’t entirely finished. It’s essential to perform post-deletion cleanup to ensure that no remnants of the site linger and that your online presence is as secure as possible.
In this section, we’ll discuss what needs to be done after deleting a WordPress development site.
Database Cleanup:
- Begin by accessing your hosting account’s control panel or using a database management tool like phpMyAdmin.
- Locate the database associated with the deleted WordPress site and delete it. Be extremely cautious during this step, ensuring you select the correct database to delete.
- Remove any remaining database users that were associated with the deleted site. This helps maintain the security of your hosting environment.
File and Media Cleanup:
- Delete all the files and media associated with the deleted site from your hosting server. You can use an FTP client or your hosting control panel’s file manager for this task.
- Pay attention to directories like “uploads,” “themes,” and “plugins,” as they may contain residual files.
- If you have backups stored on the server, remove any backups related to the deleted site to free up storage space.
Remove Remaining Traces:
- Search for any remaining traces of your site on the internet. This includes old URLs, cached pages, and references on social media or other websites.
- Contact search engines like Google and Bing to request the removal of cached pages and search results related to your deleted site.
- If you’ve used content delivery networks (CDNs) or caching plugins, clear their caches to eliminate any cached content from your deleted site.
Security Considerations:
- If your deleted WordPress development site contains sensitive data, it’s critical to assess and enhance the security of your hosting environment.
- Change all passwords associated with your hosting account, including FTP, database, and control panel passwords.
- Keep your WordPress themes, plugins, and core files up-to-date, even if you no longer have an active site. This helps safeguard against potential security vulnerabilities.
- Consider implementing a website firewall and security plugins to protect your hosting account from potential threats.
- Regularly monitor your hosting account for any suspicious activity, especially if sensitive data was once hosted on the site.
Following these post-deletion cleanup steps, you can ensure that your WordPress site is fully removed from your hosting environment, leaving no remnants that could potentially cause issues or security vulnerabilities.
Wrapping up
Deleting a WordPress development site is a relatively simple process. Users can confidently remove their site without any hassle by following our step-by-step guide. It is important to remember that deleting a site will permanently erase all content and data, so it is crucial to make a backup beforehand. Whether closing down your site or starting fresh with a new one, this guide will help you navigate the process effortlessly.
Looking to create a new digital masterpiece? Explore our WordPress Development Services at Web App Vault, and let us bring your vision to life. Embrace the future with a fresh canvas, and let your online presence thrive!
Contact us today!